I never so appreciated our own planter gardens until the pandemic time started. We have our own fresh vegetables and fruits around the yard, and we harvest whenever we need them.
Actually, if you own some outdoor space and are interested to develop your own planter gardens, today we share some of the basic DIY tips with you, and it is a lot easier than you probably expect.
Keep reading!
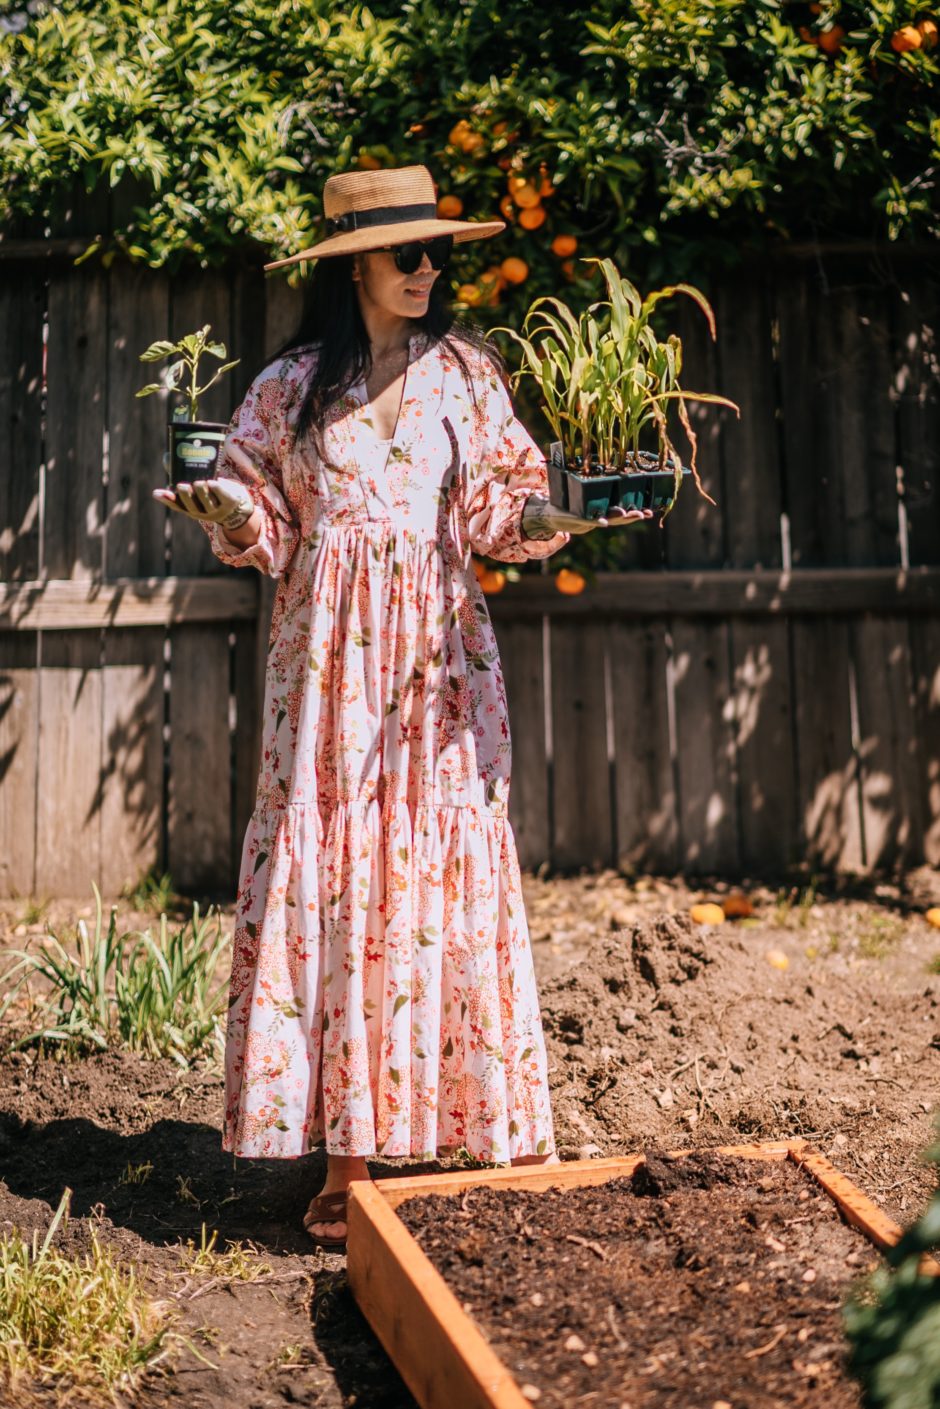
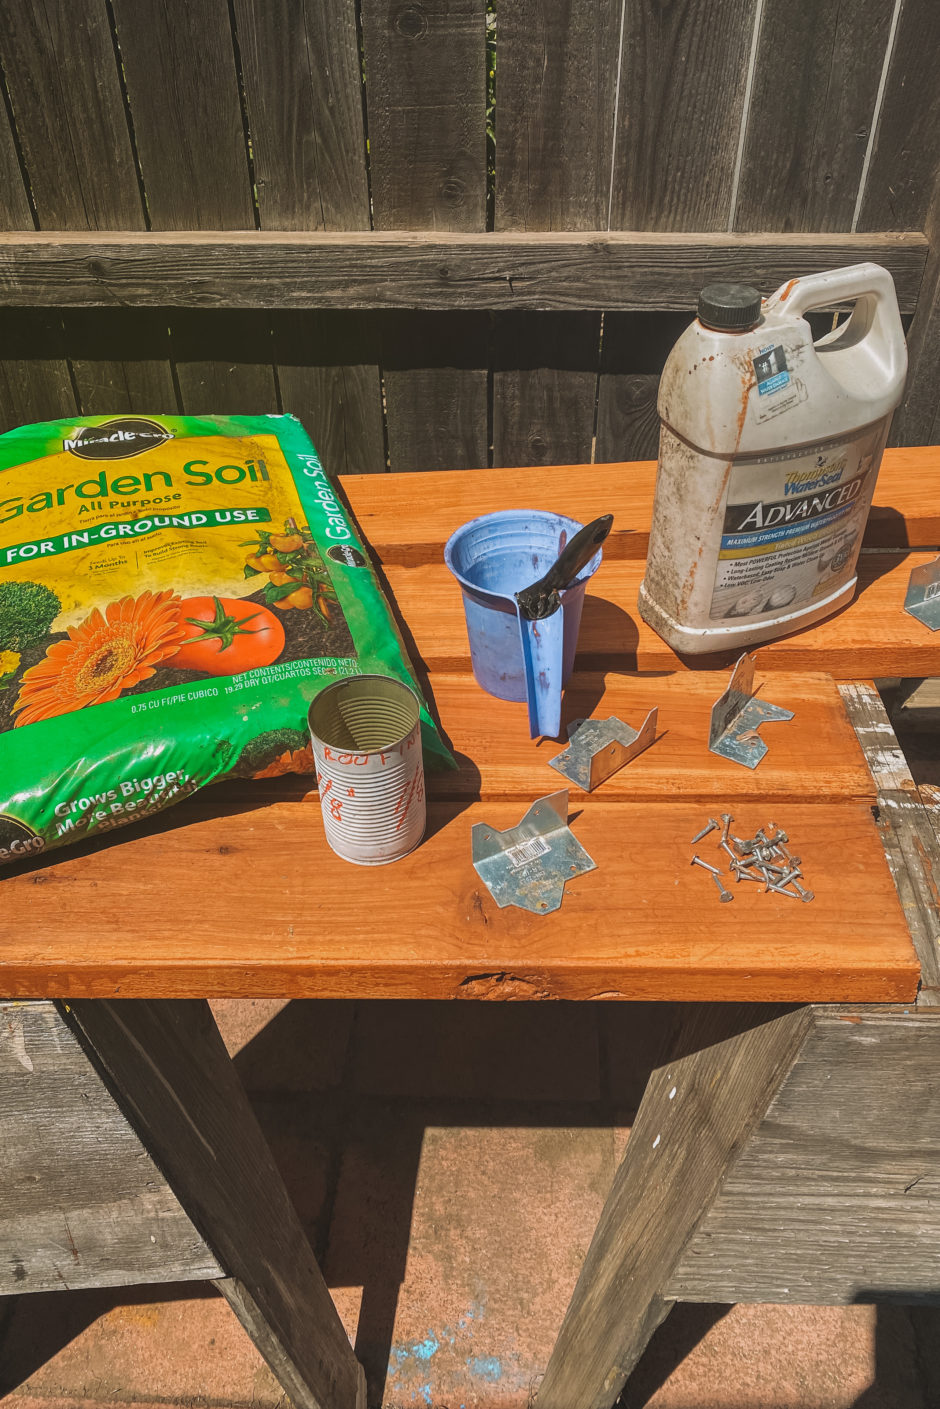
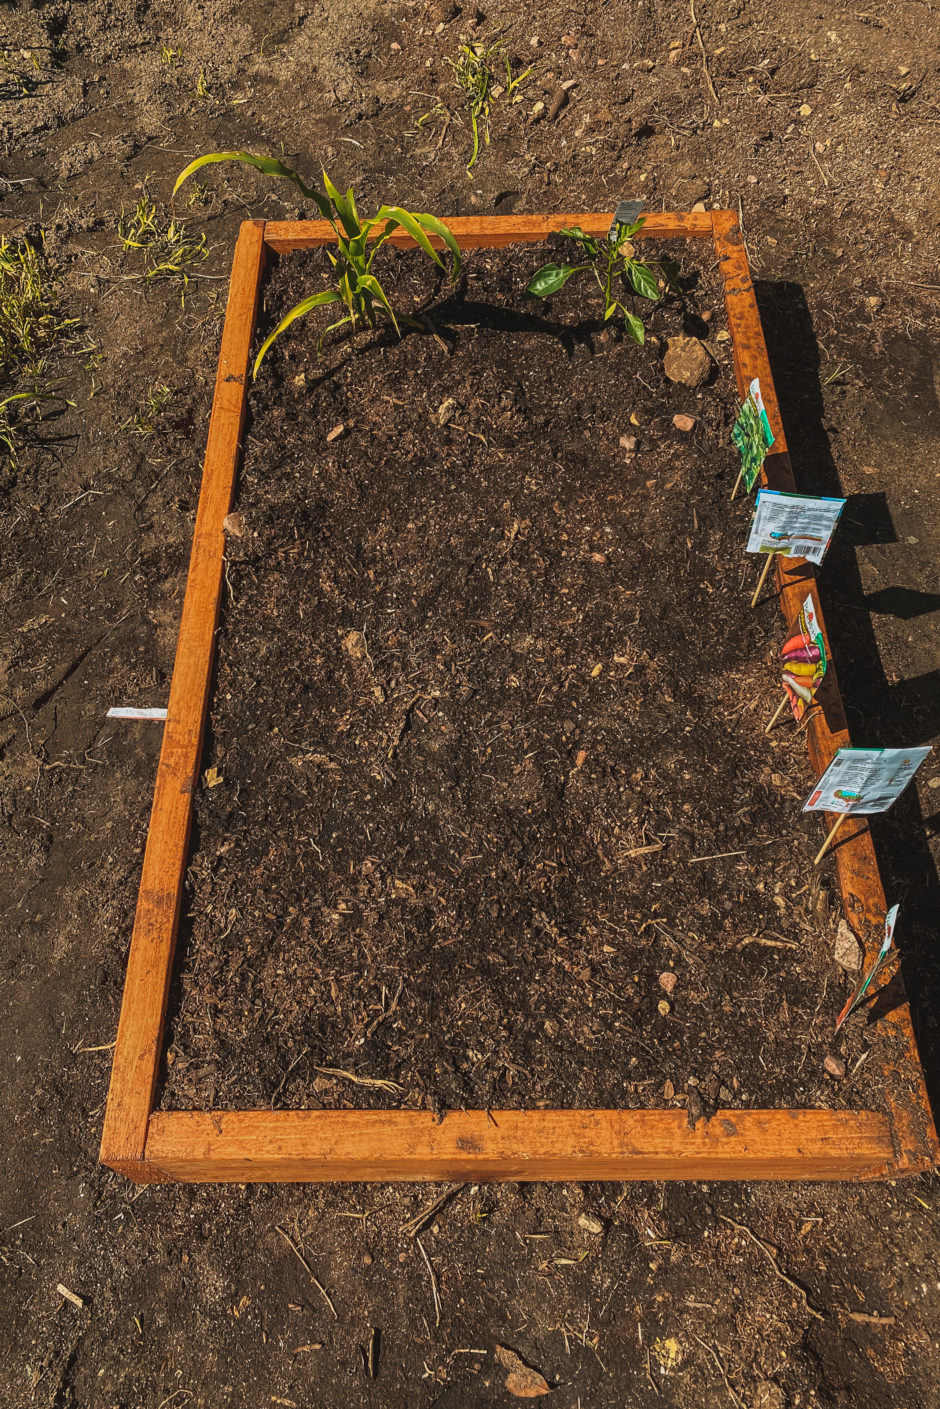
The essence of an above-ground planter is simply to build a box on a clear patch of ground – bare dirt. Then you fill it with soil, plant what you want, and care for it. You will be pleasantly surprised by how much yummy food a small garden can give you.
You can make the planter box out of many things, such as wood or concrete blocks set on the ground to make a low box. Here’s a tip – don’t make your planter boxes too wide, or it can be hard to reach the plants in the middle. We learned that the hard way, after making two boxes with 8-foot long railroad ties. It was easy to build, has the rustic look we wanted — but we can’t reach the plants in the middle without walking into the planter box, something we would rather not do. Now, we limit the width to about 4 feet, maximum.
What you need:
1.Wood (2” x 6”, in this case)
2.Waterproof paint for wood
3.Garden soil (1 bag)
4.Paint brush (to paint the wood)
5.Nails and screws
Today, Red Bear and I are building a box that will be 2 feet wide and 4 feet long, using lumber (2” x 6”) we bought for less than $20. We actually bought 2 6-foot pieces, and had them cut at a home improvement store. Home Depot and Lowe’s will both cut the lumber they sell for free (1 free cut per piece).
Step 1: Paint the Wood
When you get the wood home, the first thing to do is to paint it, so it will survive water longer. We used a waterproofing stain for this planter, but colored paints do a good job, too. The main idea is to paint every surface, even the ends. For easy clean-up of the painting process, use water-based paints. Then, the brushes, etc. (and you, if you get paint on yourself!) can be cleaned easily with soap and warm water.
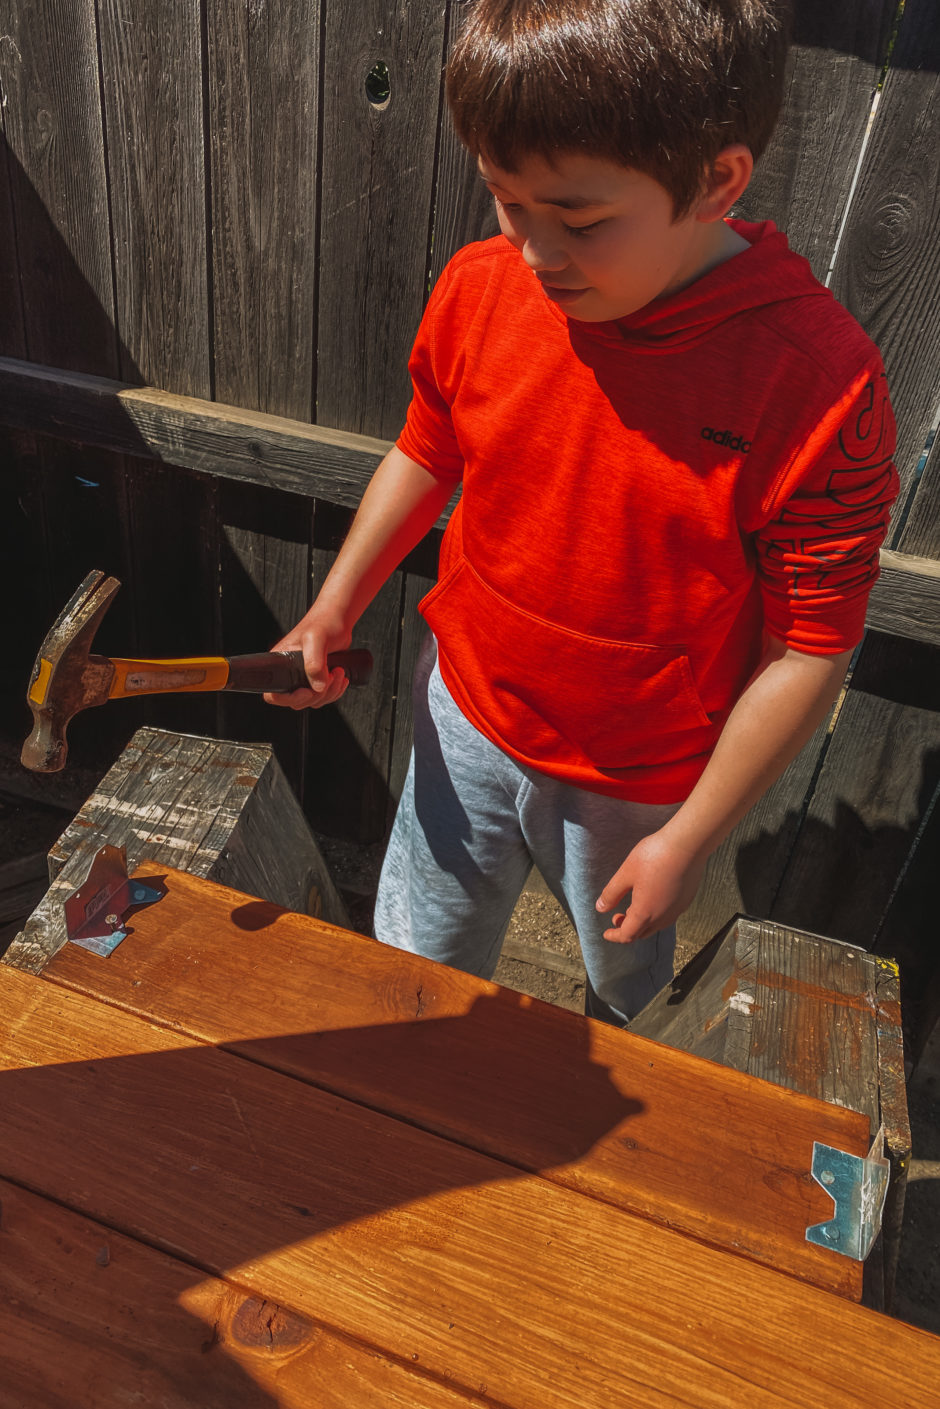
Step 2: Assemble the 4 sides with screws or nails.
Red Bear and I decided to use little tin corner pieces to tie the corners together, from the inside of the box. The reason is that we could use short nails, easier for us to hammer in. If my husband were making the planter, he would probably just use longer nails and pound them in from the outside, but this way is easier for me.

Step 3: Place the box where you want it, fill it with soil.
Ideally, find a spot that gets a lot of sun; most food-producing plants need a lot of it. You don’t want it in the shade of a building most of the day, for example, or under a big shade tree.
The best soil has organic material in it (could be composted leaves, or manure), and lets water pass down through it easily. Where we live, the soil is almost like clay – you can make adobe bricks with it, but it is not best for growing plants. To solve that, we add sand and/or some “store bought” garden soil. If you become an avid gardener, you will learn that many home improvement stores and garden centers have big sales on bags of such soil; usually around spring and early summer holidays. Being frugal shoppers, we keep our eyes open for those sales.
Side Note: You can also build a planter box on top of brick or cement or other hard surface. The main difference is that the planter will need to be taller, to allow the roots to grow happily, and you will need to make sure that excess water can get out of the planter, draining out near the bottom. On a hard surface, the planter should be at least 16-inches high to accommodate even modest roots. Some plants, with deep roots, will require an even taller planter.
Step 4: Plant the seeds.
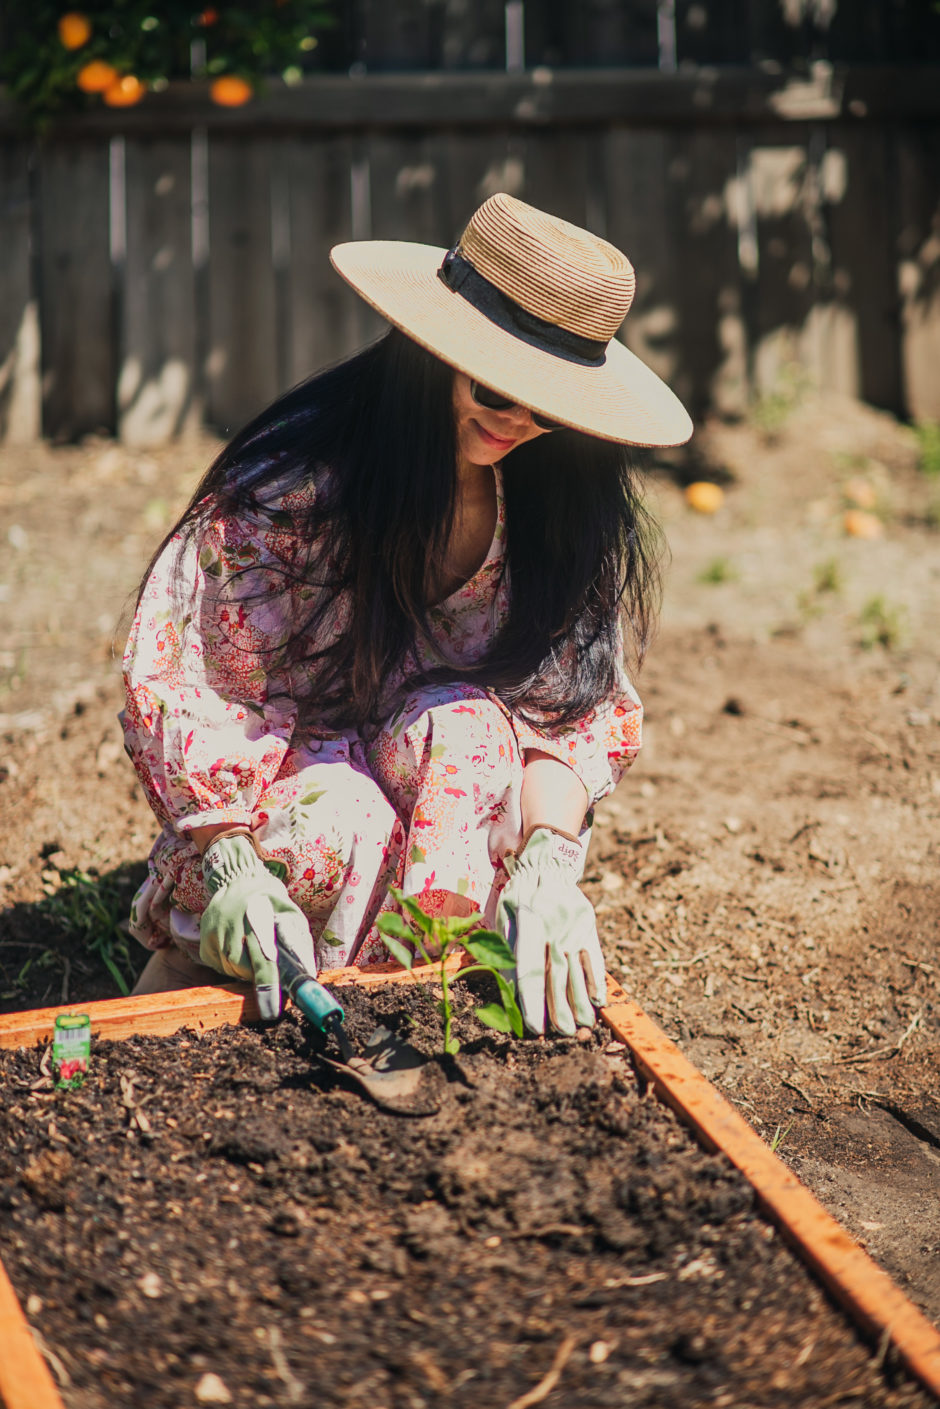
Just follow the instructions on the seed packets, and remember to tamp down the soil over the seeds. Then water them at least daily until you can see the green shoots break through the ground. Water the seeds gently until then, so you don’t accidentally move the soil off of them.
Of course, you can also plant seedling plants, plants already started from seeds until they are a few inches tall. You can buy seedlings from any garden center. We usually add a little “blood meal,” also from a garden center, to the soil when we plant seedlings. They seem to go more robustly when we do. With blood meal, a little goes a long way; with too much, you can burn the roots.
Side Note: You can also grow a lot of fruits and veggies in pots, large and small. They are great if you do not have a yard. As long as they get sun, plants can grow in pots.
The principles are basically the same as for an above-ground planter, and in one sense, it is even more convenient, because pots can be moved around to the most convenient place with the best light. When using pots, it is necessary to make sure there is at least one hole in the bottom, to let excess water escape so the roots do not rot. Sometimes, you will have to drill a hole. Also, it is best to protect the hole a little, so soil cannot get compacted down into it, and prevent water from leaving. We usually put a couple pieces of broken ceramic pots or some rocks over the hole. We grow small things in small pots, and big things in big pots – everything from cilantro to citrus trees!
So, why not give it a try and start your own small garden? Some seeds or seedlings, some good soil, and some kind of container, and you will be in business. You cannot find fresh food anywhere that tastes as good as what you pick from your own garden! Trust me!
P.S. Thanks to my dear husband who helped me to create this post. Actually, most of the time, he is the one working so hard on our garden, and I take care of the harvesting, cooking, and tasting part. Teamwork!

SHOP GARDENING


Sooo cute! Thanks for the info and inspo! I need to do this while I have the time!
XoXo,
Gina Checchia
https://www.a-girl-in-la.com/